Unity Collaborate & Teams
Unity projects usually include relatively large assets that make version control difficult with github.
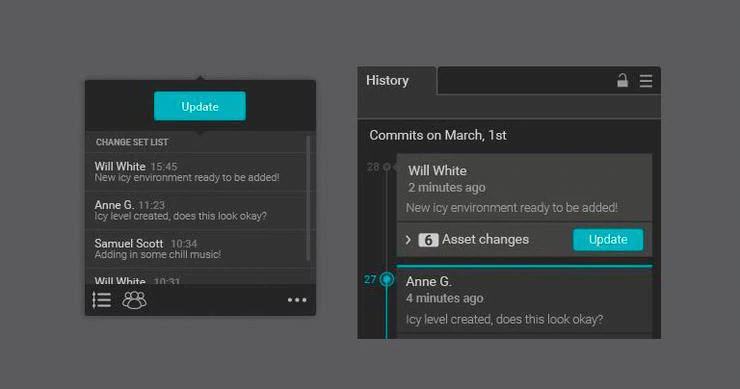
My recommendation is to use the collaborate feature, which allows team members to synchronize projects remotely and monitor changes in a small team.
The free version of Unity Teams is limited to 3 members.
We are all going to use my account so you don’t have to subscribe to anything.
You can follow the team setup tutorial here
…and the intro to Collaborate here
Make sure that each team works: create a couple of cubes in the scene and see if the projects synchronize.
If you ever need to share or backup Unity content outside of Collaborate use the import and export function. Unitypackages are much smaller and transferable than project folders.
Visual studio live
 You can Visual Studio Live Share and/or Github for Unity if collab doesn’t work for you
Check this article, especially the parts about Live Share, Github and the debugger
Project management and Codecks.io
Elect a project manager in your team.
The project manager is not going to be the “boss”, or somebody who is more responsible that others, but rather a person who:
- schedules meetings
- writes down notes, tasks and meeting decisions
- structures and maintains the project management system codecks.io
- oversees and identifies issues in the workflow
- acts as a liaison with the professor outside of class if needed
Nobody here has real experience with project management, so volunteer yourself if you think this could be a possible direction of your life after graduation.
The project manager is still expected to do creative work in the team, but if you already have the impression you are going to contribute less than others for any reason, this could be a job for you!
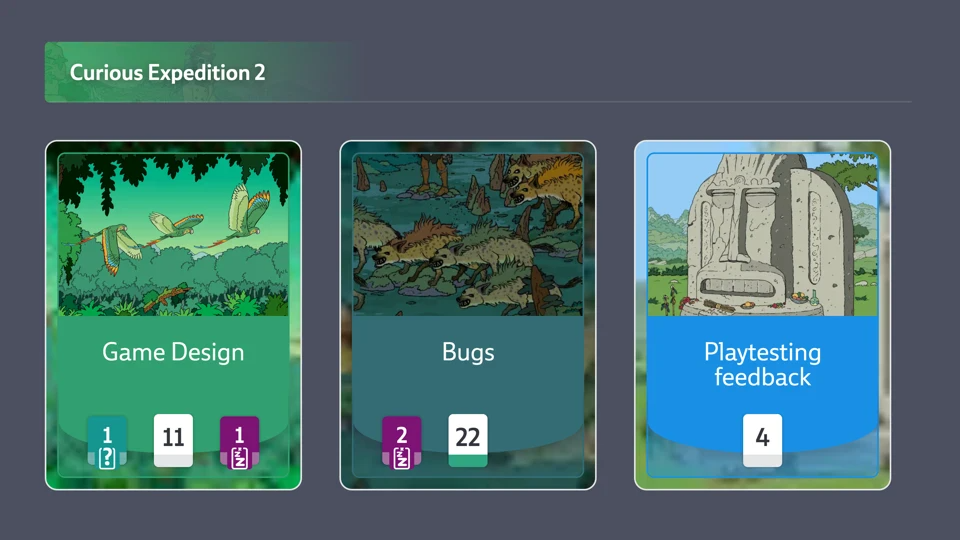
We are going to try codecks.io for project management.
It’s a tool for tracking tasks similar to Trello, but oriented to game development.
Exercise project
Make a simple Unity scene together starting from a randomly assigned theme.
The goal is to make something thematically and visually consistent in ONE HOUR.
Create a codecks.io account.
I’ll create team projects and add the team members.
Have a short meeting on Discord in which you discuss and assign the following tasks on codecks.io:
- Code: you can start with a single player template package here (double click with the project open or import). You can use either the gallery or the outdoor scene as a starting point.
Alternatively you can start with the Distributed Authority template. - Game Design: design 3 or more simple interactions with the environment, or with networked objects if using the multiplayer template. Interactions as in: things that require some programming
- Code: implement the interactions
- Art: find at least 4 assets on the internet (see resources below)
- Art: create one simple 3D asset from scratch with your program of choice
- Art: import the assets in the scene, make sure the materials are ok or create new ones
- Art: create one simple 2D asset from scratch with your program of choice
- Art: import the asset in the scene
- Art/Code: set up the lighting: lights, shadows, skybox, baking… (see below)
- Sound: find a soundtrack and/or sounds
- Sound: import and play the sounds in engine
- Game Design: arrange the object in the scene
- Art/Code: enhance the look and feel with post-processing effects
Finding assets online
For the first exercise you’ll need to find some free 3d models online. The best type of files are FBX and OBJ. You can usually import .blend. There are plenty of website with free assets online but some of them are a bit sketchy.
These ones are legit and have a lot of free stuff, they generally require a free account:
Unity Asset Store filter by free. Show import process.
Everything library free generic low poly assets from the game Everything
(expand the fbx in assets > drag the mesh in the scene > create new material > assign > change the material shader to Particles/Standard Surface to show the vertex colors)
https://sketchfab.com/3d-models/popular artsy/stylish stuff not always great for games. Show download and import
https://www.cgtrader.com
http://www.blendswap.com/
https://free3d.com/
http://opengameart.org/
http://www.models-resource.com/
http://archive3d.net/ (mostly hi-res architectural 3ds)
Note: Some models will not import properly.
If they have a messy geometry, dark faces or holes, it’s probably easier to find an alternative model
Some textures and materials may not work, it’s kind of normal. I recommend to change all the materials within Unity for this assignment.
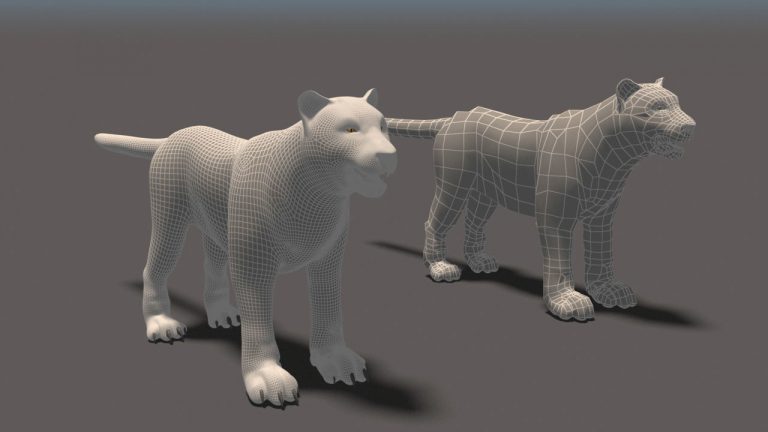
Remember we are working in real time so we need low poly count models.
What does low poly mean? It’s relative. For a character or prop, in anno domini 2020, the model on the right is preferable.
If, when visualizing the wireframe, the edges are too dense to blend together, the model is definitely too detailed for this purpose:
 Lighting
The light game objects are quite straighforward components to use.
However in a 3D engine the lighting depends on a variety of other factors such as:
- Materials: they contain information like color, texture, and how they reflect light (or better, simulate light reflection). The logic that govern light reflection (and more) in a material is defined by scripts called shaders. Shader programming is hard but you can use and tweak existing shaders.
- Textures: texture images are properties of the materials but their mapping, or how they wrap around meshes, depends on the model. Texture mapping is a complex process that can’t be done in Unity so we won’t talk about it. If a model comes with a texture properly mapped, you can try to modify the image in photoshop, but creating your own textures is beyond the scope of this class.
- Ambient light and other global settings: they are a lot, and they are in the “lighting” panel. You should always keep it open next to the inspector (menu window > rendering > lighting settings). We’ll just look at the skybox and the fog. We will not get into baking lights and other rendering pipelines.

- Post-processing effects – they are a bit like instagram filters applied to the image after it’s being rendered. Activating post-processing effects is a bit tricky but the template I’m giving you should have them already set up. Just add the effects on the “Post Processing effects” object, activate each singleOne of the many tutorials covering lights