Create a virtual installation you can explore in first person using models found online.
Look for mundane object with baggage, history and built-in symbolism.
Student Work
Isaac created a nook in the museum you can peek in
Meg made a James Turrell-esque architecture using Probuilder
Bosi made a memory labyrinth reminiscent of MC Escher
Requirements
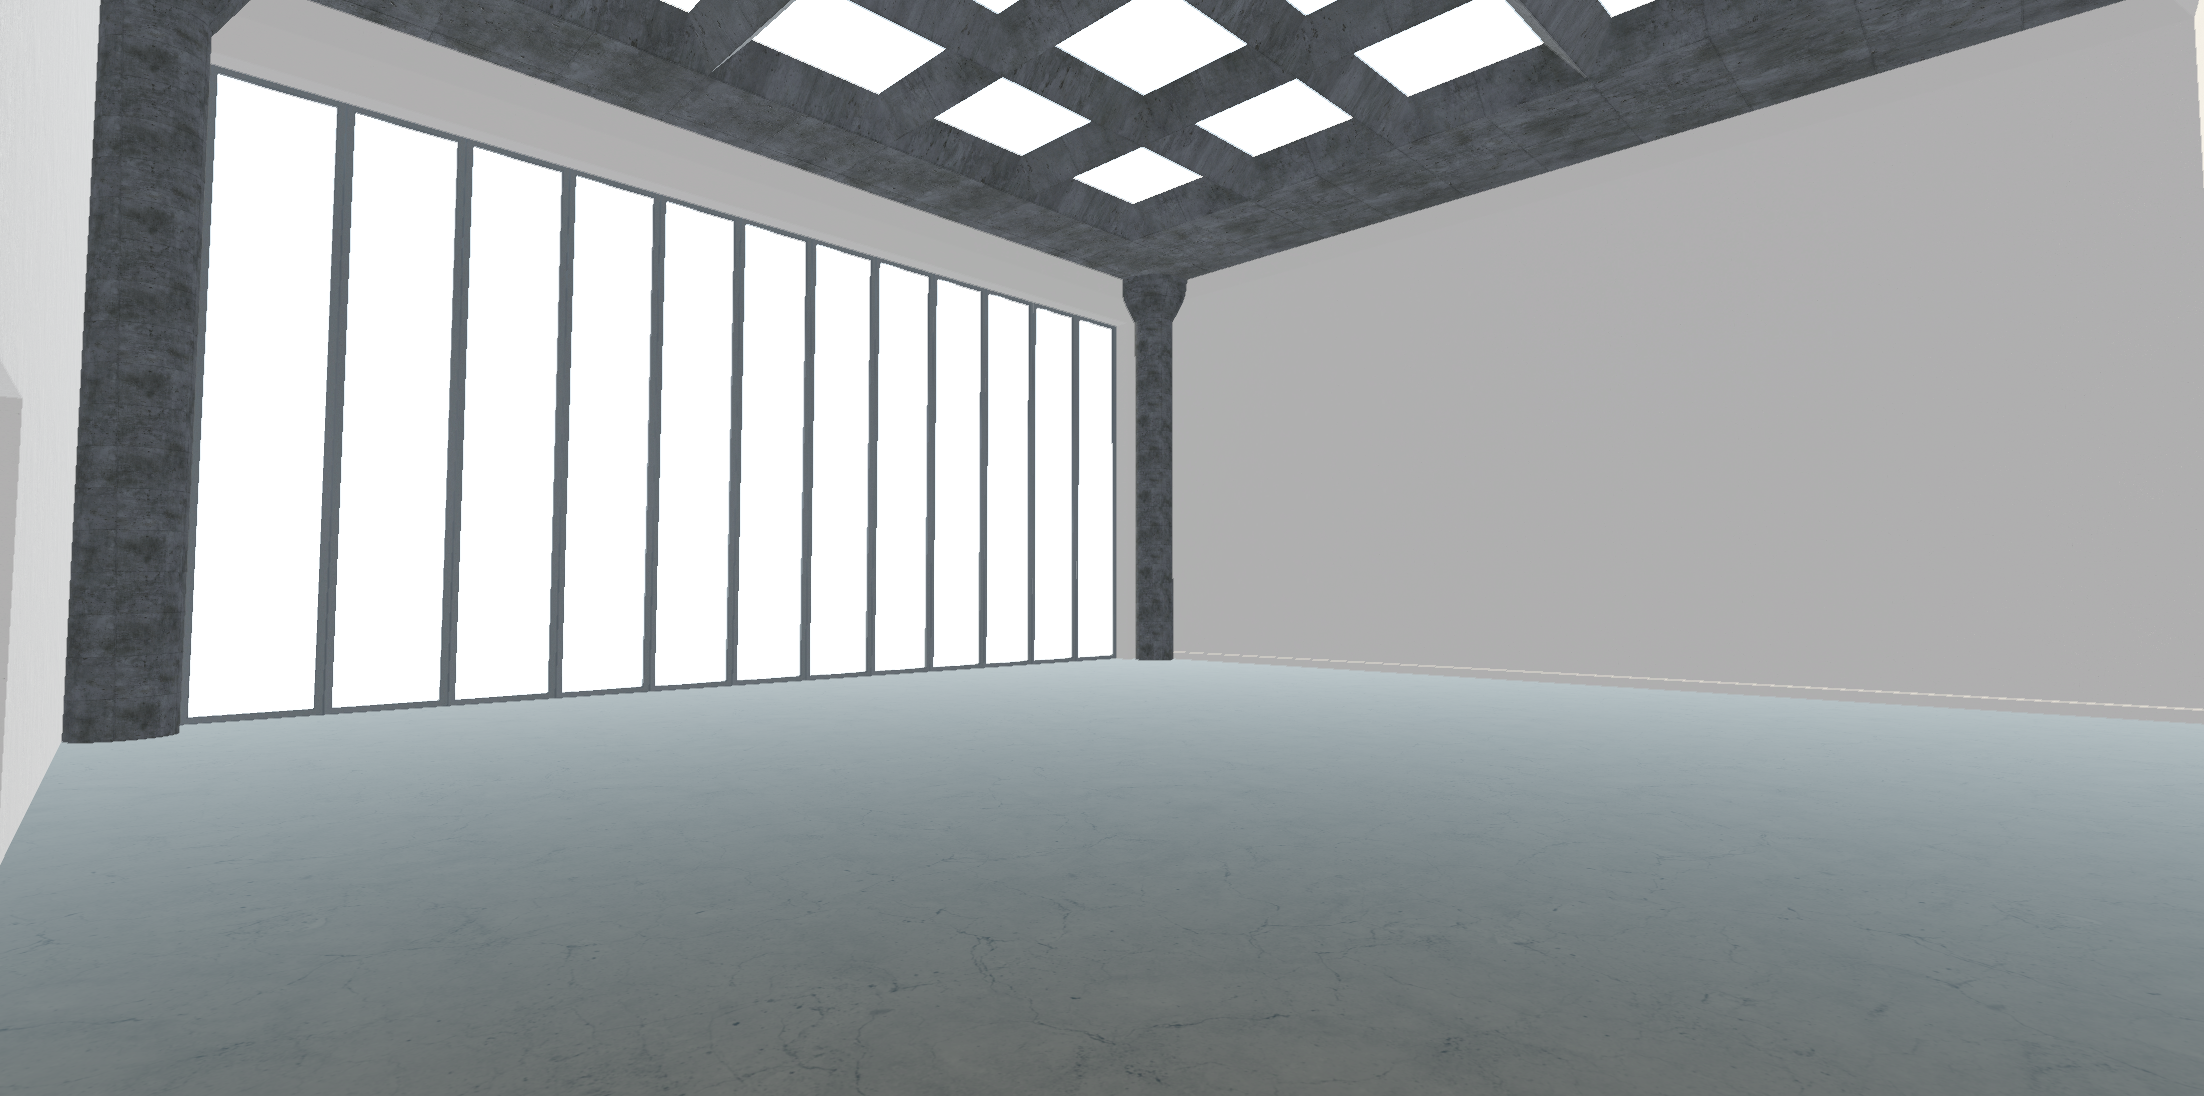
The installation has be in the “museum” or “desert” scenes.
If choosing the museum you can modify colors and rearrange architectural elements, as you would in a real museum, but keep it “institutional”. I’d rather this work be in dialogue with installation art practices, rather than video game level design.
If choosing the outdoor scene, focus on your installation, and not in decorating the environment with trees and rocks. The point of the desert is to avoid environmental art which can get quite technical. You can modify the dunes with the terrain tools – see video below.
Even if the environment are somewhat realistic, you can be as surreal, abstract as you want.
You should not re-stage something that is already someone else’s art. Use generic looking-objects as raw materials, stay away from models with a highly personal style.
During critique we will play each other’s environments so make sure it runs properly, and players don’t fall out of the level, enter objects, or get stuck.
The project should run smoothly in play mode. As a rule of thumb the stats panel should always display less than 3 million tris (triangles). Each downloaded assets should have under 100K triangles (no photogrammetry).
You can play with materials and textures, but be aware that proper texturing requires UV unwrapping. Glitched texture are not allowed.
Deliverable
The delivery format is a short video walkthrough of the installation taken from play mode using the Unity recorder (in class demo).
To record HD videos follow this tutorial
The recordings end up in the project folder, the same where the assets folder is. NOT in assets.
Upload the video on google drive or youtube, post a link on discord.
Come up with a title and a project statement (wall text).
Grading Criteria
There is attention to form, color, silhouettes
The objects form new visual and symbolic relationships
There is a strong concept behind it: there is a readable theme, there are aesthetic, personal, political, or philosophical issues at play. One can imagine it existing as an installation in the real world.
The elements form a cohesive unit, you didn’t just decorate a room
The installation is “immersive”: it’s compelling to explore and to observe from many points of view.
The assets have been transformed, or recontextualized in a novel way, you didn’t just rely on someone else’s art.
Template
 Download this package (virtual installation museum etc)
Open Unity Hub
New project
Select 3D core
Give it a name that makes sense like Virtual Sculpture
Select a location that makes sense like your external hard drive or the local document folder
Confirm, it will take a few minutes
Double click on the package with Unity open, import everything.
Open the scene Museum or Desert and save it as something like “Virtual Installation”
It has a lot of assets and scenes to play with, they are described in various videos below.
Finding assets online
Since we aren’t getting into 3D modeling, you’ll find some free 3d models online. There are plenty of website with free assets online but many of them are sketchy and the models aren’t “game-ready” so always start from the Unity Asset Store and Sketchfab.
Unity Asset Store filter by free.
Show import process.
https://sketchfab.com/3d-models/ artsy/stylish stuff not always great for games. Select downloadable.
Show download and import
If you can’t find what you need you may try to look for other online resources like turbosquid or blendswap.
Look for generic looking stuff to assemble and recombine in new ways.
Don’t use models that are already digital sculptures, highly stylized, or full scenes.
The best type of files are FBX and OBJ. You can import .blend files directly if you have Blender installed.
Note: Some models will not import properly.
If they have a messy geometry, dark faces or holes, it’s probably easier to find an alternative model
Some textures and materials may not work, it’s kind of normal, you may have to recreate materials within Unity.
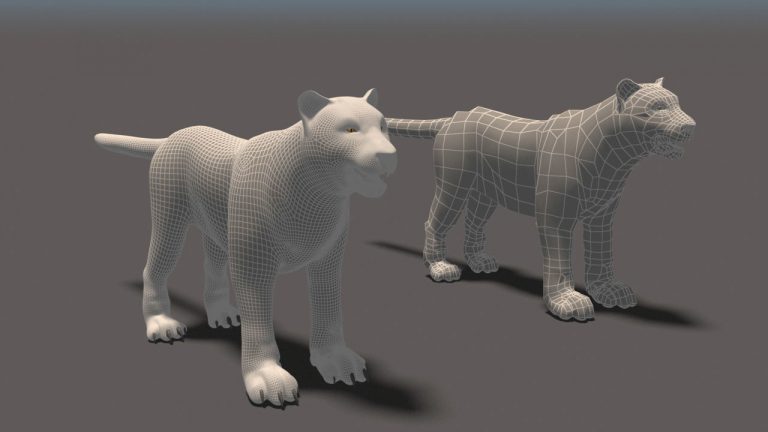
Polycount
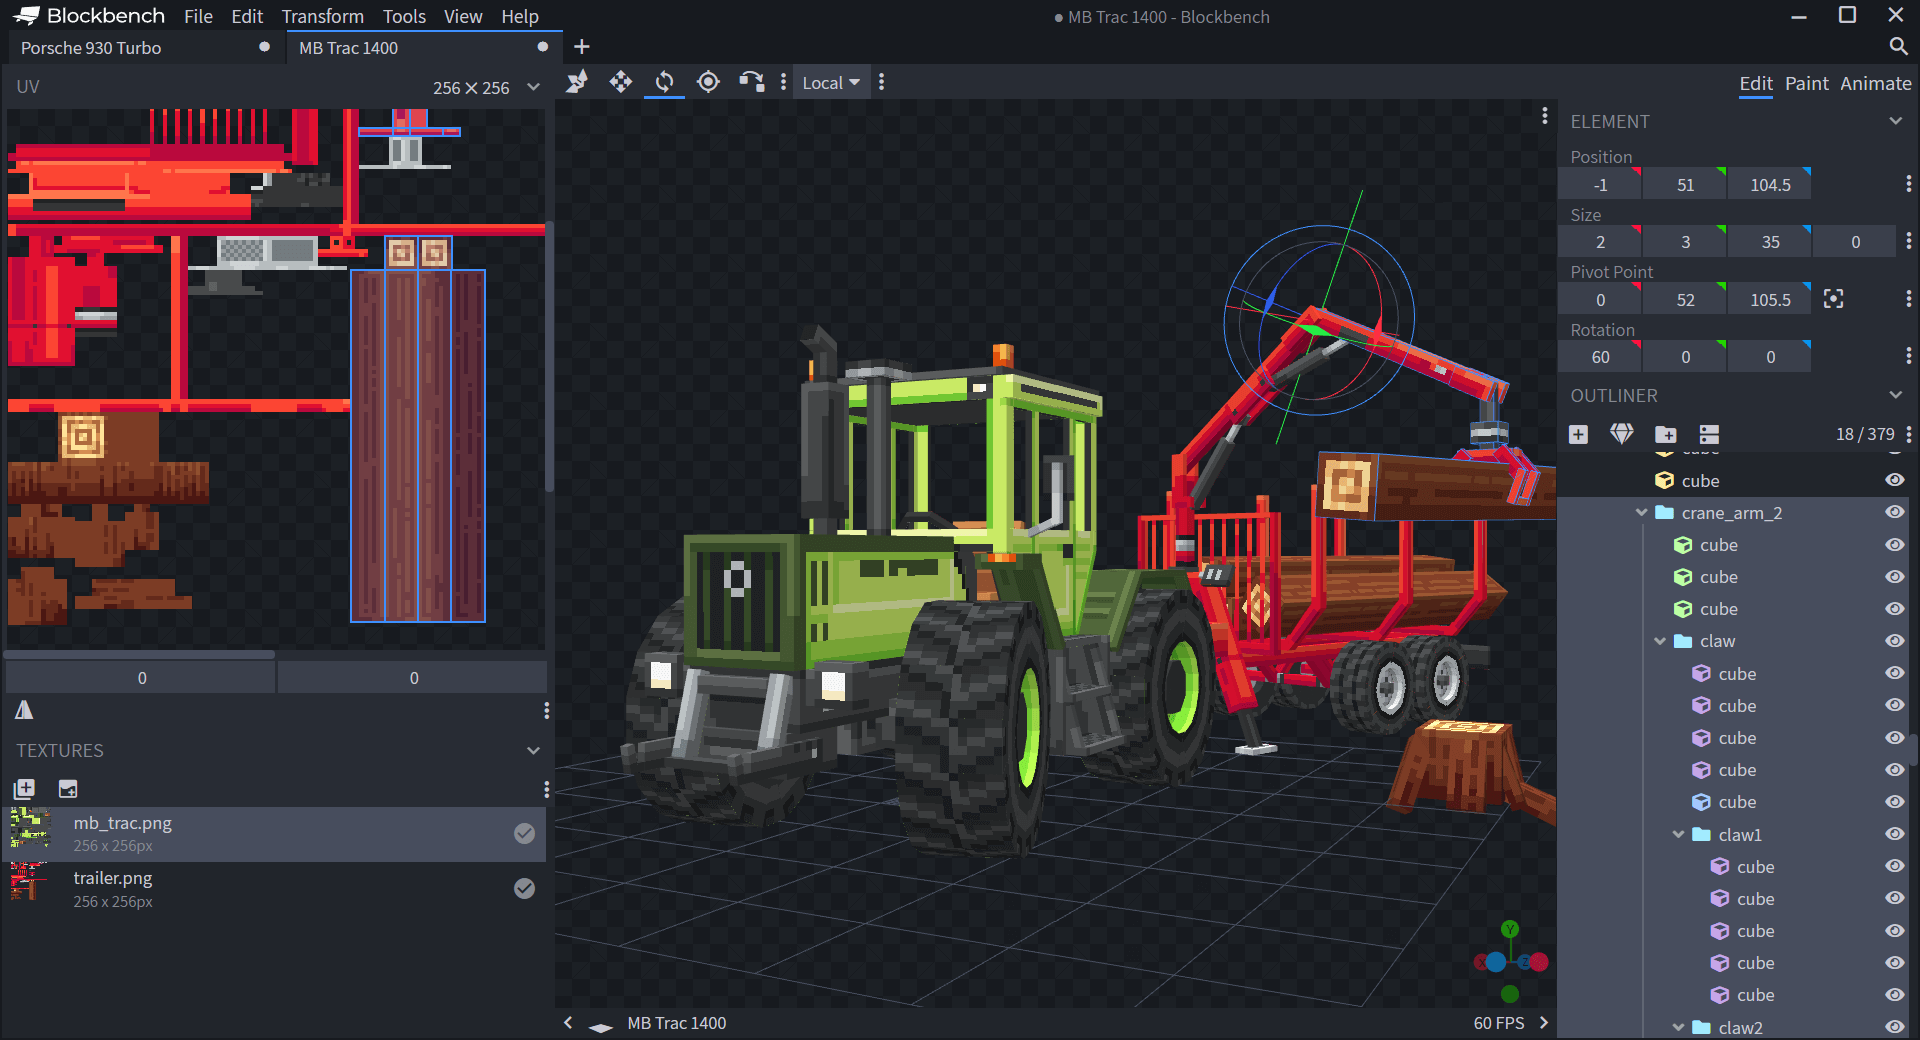
Remember we are working in real time so we need low poly count models!
What does low poly mean? It’s relative. For a character or prop, in anno domini 2022, the model on the right is preferable.
If, when visualizing the wireframe, the edges are too dense to blend together, the model is definitely too detailed for this purpose.
As a rule of thumb when choosing a model stay below 100K triangles.
 Packed assets
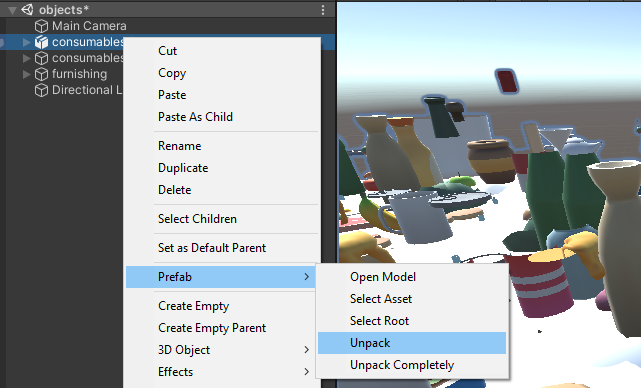
Imported objects might appear as prefab, prepackaged objects with associated components. Their icon will look different in the hierarchy. To work with a prefab (eg copy pasting an object within it) you need to unpack it:
Lights and camera
Very often models come with their own cameras and lights. You generally don’t want to import them. The lights will add to your own making the scene overexposed, and the camera might take over the player camera. Select the asset in unity in the project panel and deselect camera and light in import settings.
(you’ll have to hit apply)
 Scale
Scale
Different modeling software have different units of measure so assets may appear tiny or gigantic when imported.
If they are way off scale try to fix the scale factor in the panel above (you’ll have to hit apply).
In any case scale the assets, don’t scale the player – it may seems easier but it’s going to cause all sort of problems.
Creating your own models
Learning Blender or Maya is beyond the scope of this class. If you really need your own assets you can look into these simple 3d modeling tools as well as the level/blocking tools below (probuilder and terrain)
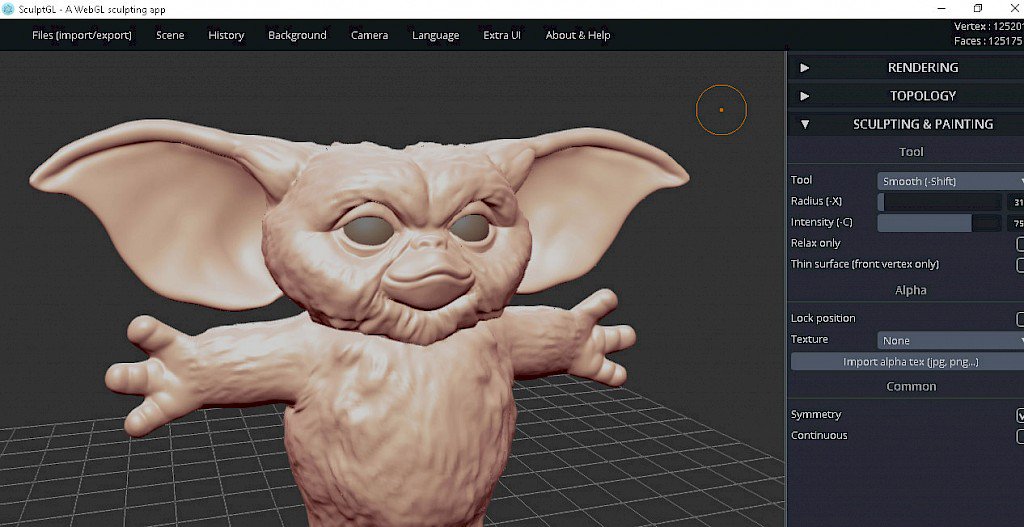
SculptGL – Sculpting programs are very easy to use, but they have a limited application (sketching creatures and making organic forms) remember to keep a low poly count (resolution 1 in this case).
spline.design New and very promising web / desktop app for creating 3D environments. Real time collaboration and intuitive controls. Exports in gltf format so the Unity project needs an importer add on.
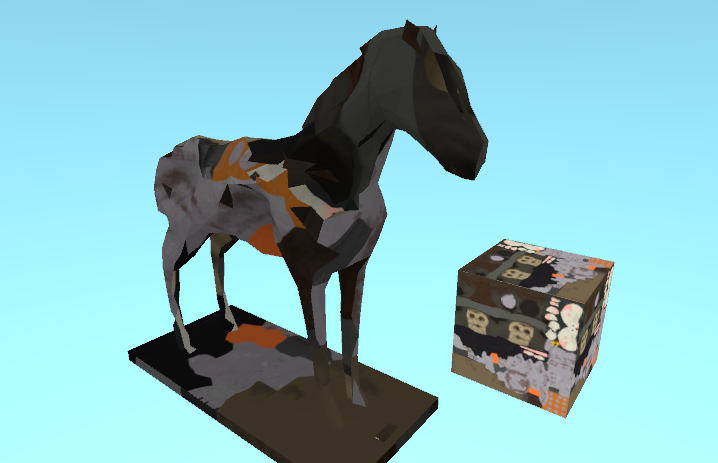
Materials and Shaders
The easiest way to customize a found 3D asset is by changing the material.
Here’s a video going though the scene “chicken museum” included in the template above. It gets a bit technical, don’t worry if you don’t understand certain things.
Lighting
The light game objects are quite straightforward components to use.
However in a 3D engine the lighting depends on a variety of other factors such as:
- Materials: they contain information like color, texture, and how they reflect light (or better, simulate light reflection). The logic that govern light reflection (and more) in a material is defined by scripts called shaders. Shader programming is hard but you can use and tweak existing shaders.
- Textures: texture images are properties of the materials but their mapping, or how they wrap around meshes, depends on the model. Texture mapping is a complex process that can’t be done in Unity so we won’t talk about it. If a model comes with a texture properly mapped, you can try to modify the image in photoshop, but creating your own textures is beyond the scope of this class.
- Ambient light and other global settings: they are a lot, and they are in the “lighting” panel. You should always keep it open next to the inspector (menu window > rendering > lighting settings). We’ll just look at the skybox and the fog. We will not get into baking lights and other rendering pipelines.

- Post-processing effects – they are a bit like instagram filters applied to the image after it’s being rendered. Activating post-processing effects is a bit tricky but the template I’m giving you should have them already set up. Just add the effects on the “Post Processing effects” object, activate each singleOne of the many tutorials covering lights
Advanced lighting tutorial including post processing effects
Recording playthrough in Unity
Sound in Unity
Adding sounds is the most effective way to create an atmosphere and it’s also very easy.
Optional: Probuilder
You can create simple 3D object directly in Unity using probuilder
Optional: Terrain
If working with the outdoor scene you can sculpt the terrain. It’s not hard but you have to understand the interface.
Optional: Particle System
Particle systems are a common type of effect in real time 3D. In Unity they can be created without any programming.
Optional: Interaction
You should not attempt to create a game but you can introduce some element of interaction without coding by using scripts I included in the template.
Advanced: Manipulating found assets in Blender
If you are interested in learning 3D modeling, or you are already familiar with it, you can import, clean up, and manipulate the assets in Blender before importing them in Unity. This is the sequence of technical tutorials I recommend.