Part I: Concept art
Sketch out the character in a dynamic pose first and a front and side for reference:
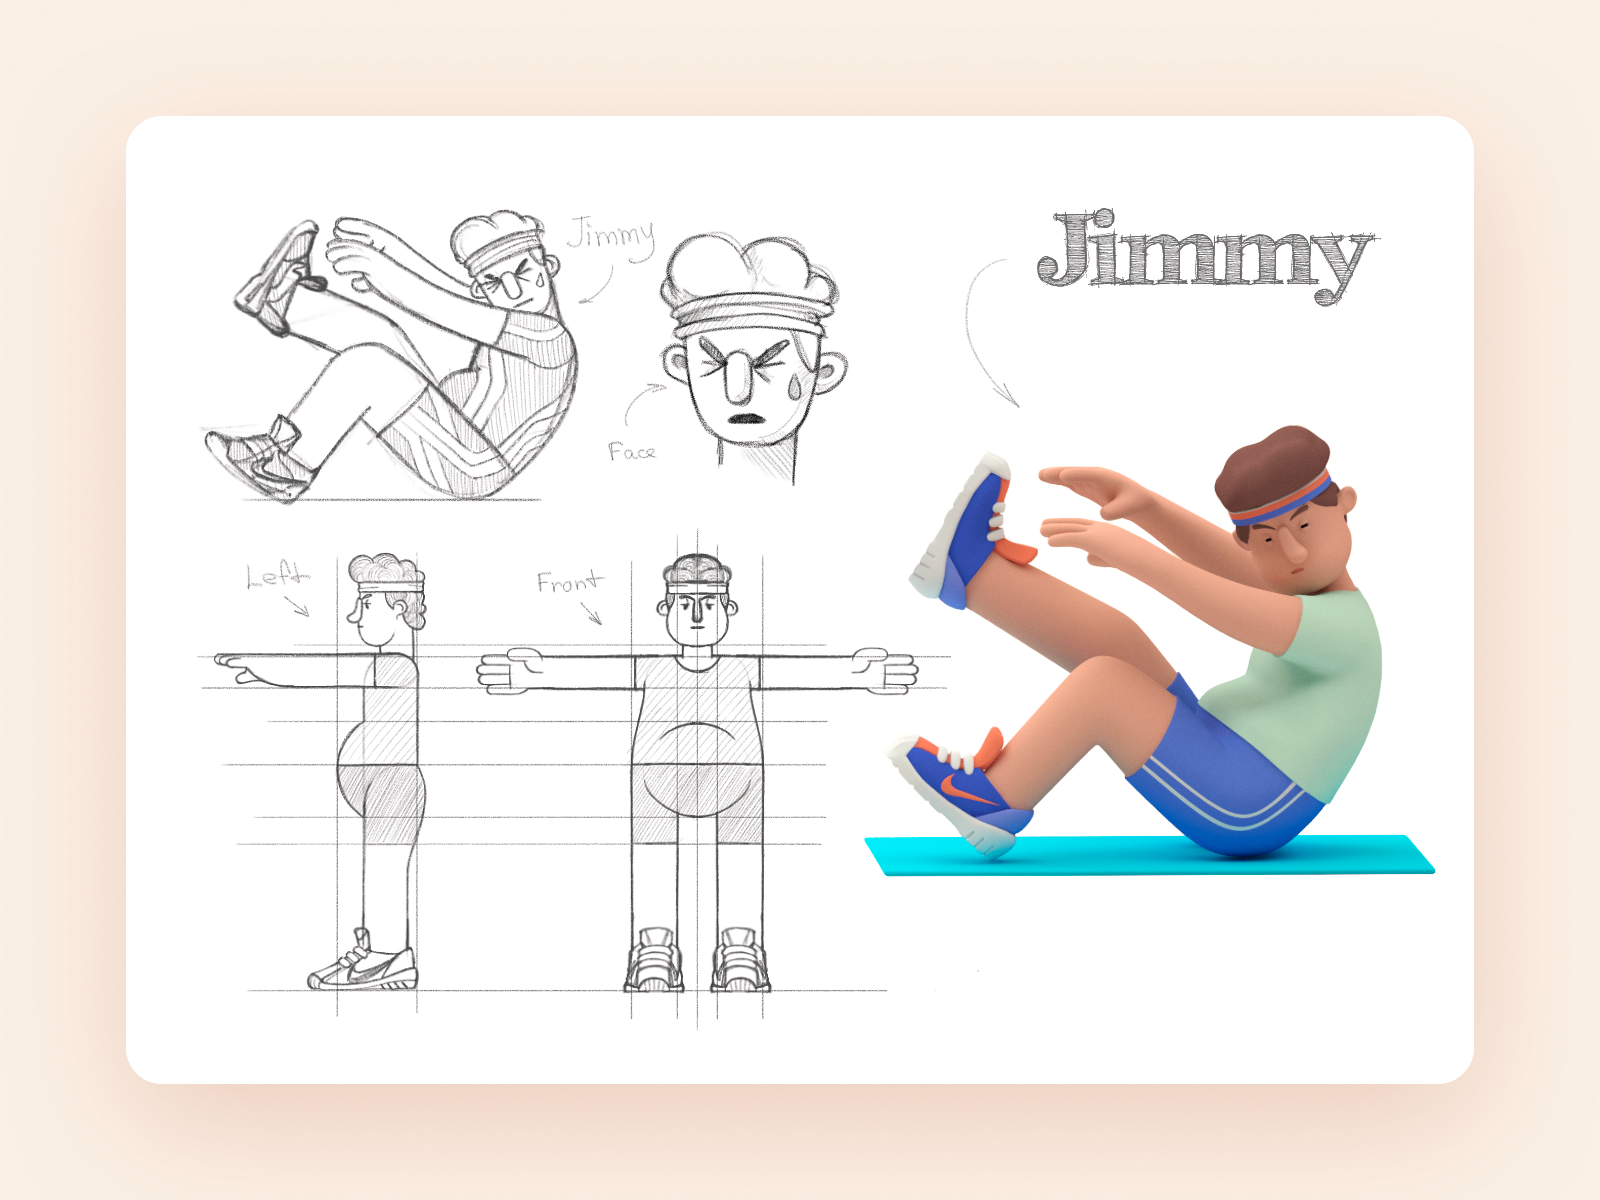
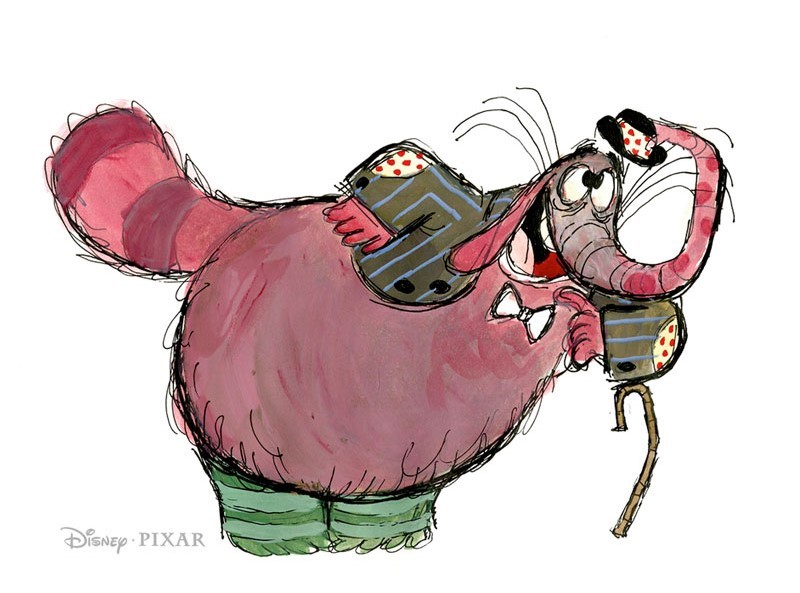
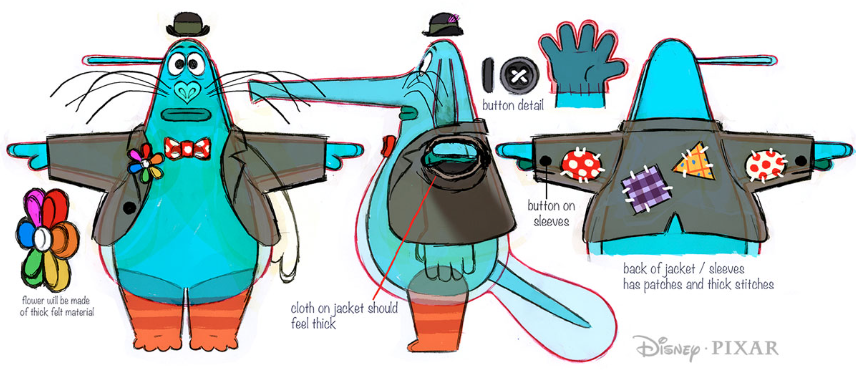
Some details can be sketched separately, feel free to add notes and separate parts.
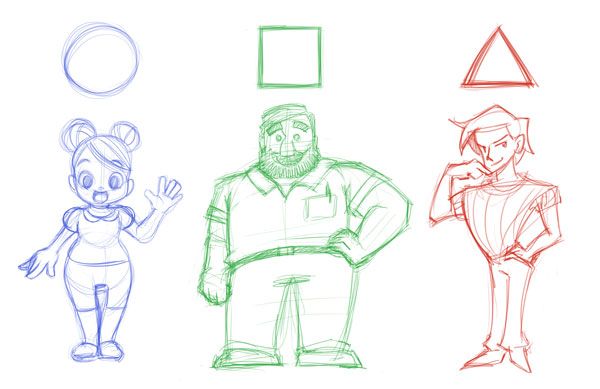
Pay attention to the basic shapes that form your character, and what they suggest about their personality and behavior.
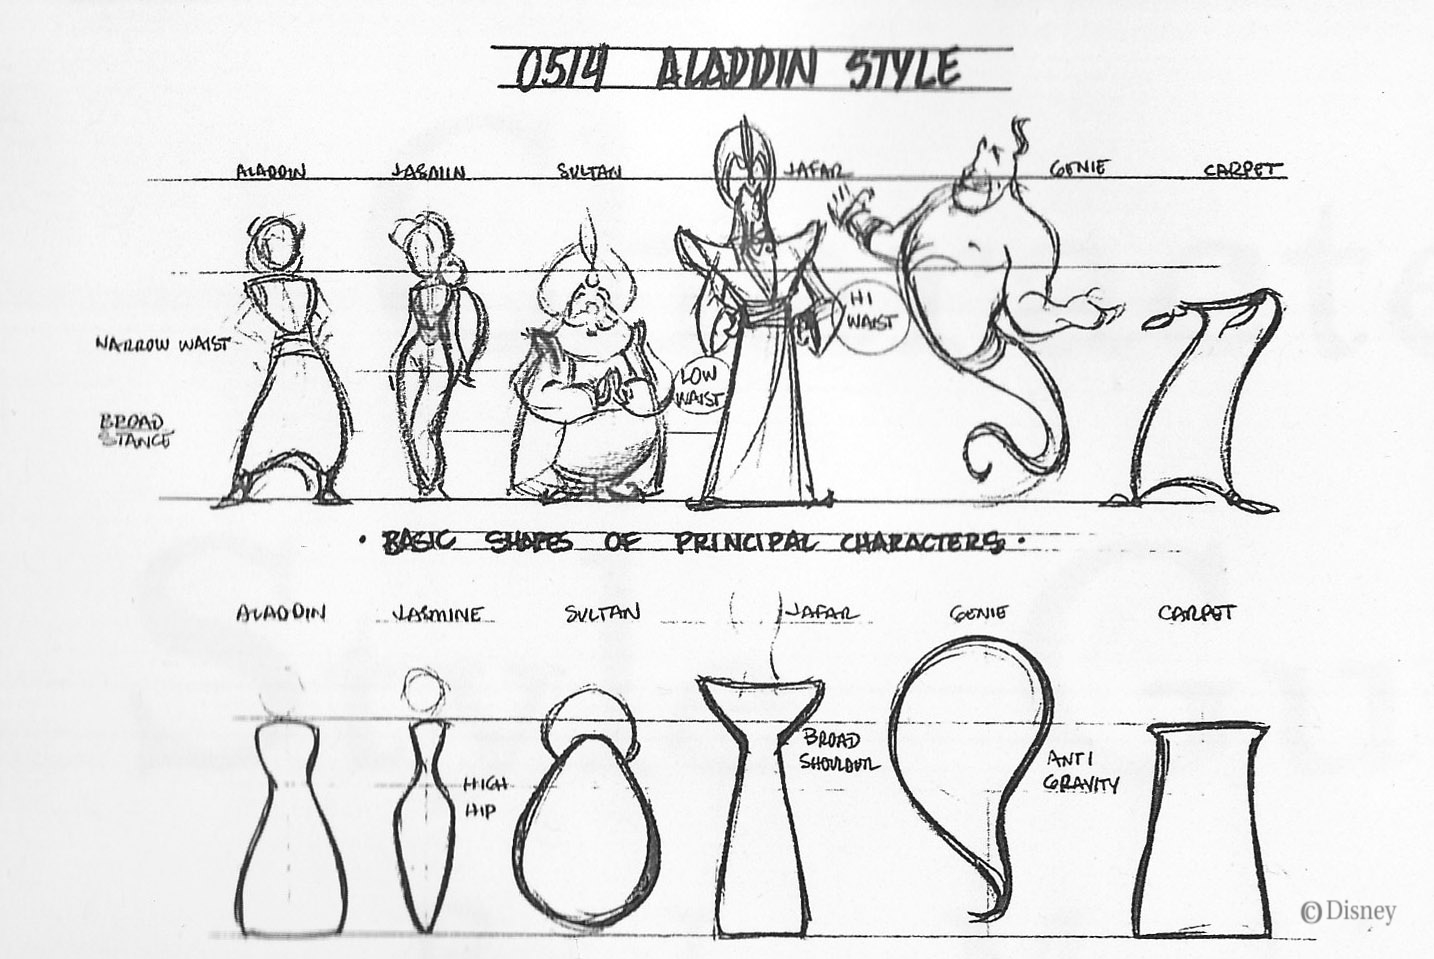
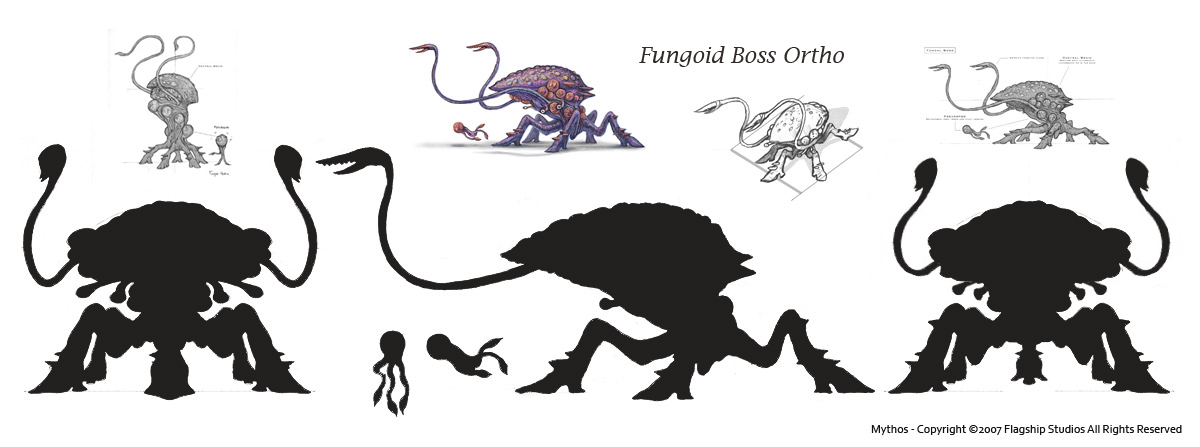
Pay attention to the silhouette, especially for game characters. Is it well defined and instantly recognizable?
Part II: Blocking
Create a first 3D iteration of your character. Focus on the main volumes, and don’t get carried away by adding details. Here are two simplified methods I recommend.
Method using subdivision surface modifier.
Sculpting and retopo method.
Less technical modeling, more common in the industry, allows for more details, the difficult retopology part can be automated.
In a nutshell: block out with Separate sculpted meshes > join all the meshes > highly detailed voxel remesh modifier to get rid of the intersection > automatic retopology with Quad Remesher
Download Quad Remesher plugin for Blender and Maya here
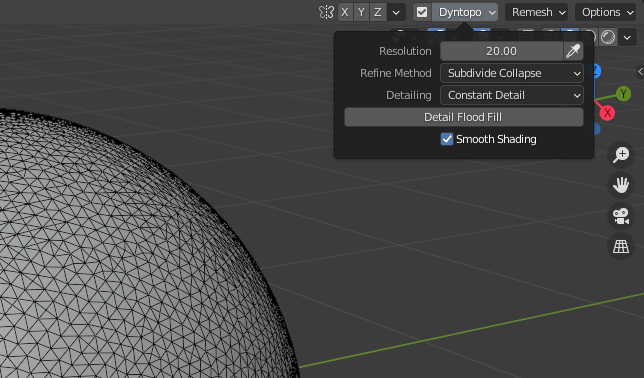
Don’t forget to activate dynotopo when sculpting details. I often use the constant detail flood fill to make a mesh more sculpting-friendly.
Part III: Details
Adding details like eyes, finer body parts, clothing, and props.
Regarding clothing: here’s a nice thread about hull vs layered meshes , pro and cons from a game industry 3D modeler.
Here’s a tutorial on how you can do layered mesh clothing, it’s a similar process.
Part IV: Materials and Textures
For this short intro assignment I recommend to either use solid colors by assigning different materials to the different meshes (or faces of a mesh), OR to texture-paint your character.
For texture painting I do NOT recommend Procreate (too buggy) nor Blender (too annoying), but rather the industry standard Substance Designer, which is part of Adobe Creative Cloud.
Here’s an intro tutorial focused on texture painting (color):
Part V: Rigging
In this simplified pipeline we are going to automatically rig your character with Mixamo
You can also try AccuRig (Windows only at the moment)
Part V: Importing to Unity
How do materials work in Unity? How do I reassign/recreate them in the engine?
What is a Physics-Based Rendering material? How can I use PBR materials I find online in Unity? How can I apply a material without UV unwrapping?
Download the PBR Material Creator to quickly create materials from texture sets, shown in the video below:
Lighting, environment, and post processing
Part VI: Adding interactivity
Download the template and create a scene with your character and animations.
Note for next class: prepare a character controller template and various 3rd person views.
Optional Demos
These videos may not apply to all projects.
Accessories (partenting objects)
If your character is holding objects or carrying accessories that are separate meshes that don’t deform with the armature, you can parent them to the bones.
Fixing armature deform (weight painting)
Automatic rigging in Mixamo may not produce perfect results. Don’t worry, you can still fix it in Blender with weight painting. Here’s a video introducing this excruciating process.
Secondary movements (adding bones)
Parts of your character can’t be animated with standard humanoid motion capture data: extra arms, hair, tails, wings, etc. Don’t worry, you can still use Mixamo for the human parts and add your extra bones.
Correction to the video: The extra “leaf” bone I mention at the end is not Mixamo’s fault but it’s a demented default option of the blender FBX exporter: under armature deselect “add leaf bones”.
Dynamic Bones
Now that I added the bones I can use a script in the engine to simulate tails, snouts, fabric, soft body parts and other inert elements that follow the character (secondary action and follow through, in Disney’s principles of animation)
Animation (keyframes and ik)
Character animation is hard and can get very technical but the basics are quite straightforward.
Here’s a quick intro to making your own armature-based animations in Blender.
Facial expression (blendshapes)
Blendshapes or shape keys can be used to add extra non-bone deformations like facial expressions. They will have to be animated separately.
Mixamo Mocap animation + custom skin / rig
What if your automatic rigging didn’t work because your character is not humanoid enough?
You can use a standard armature, edit it, and apply the skin in blender. It can then be imported to mixamo and you can use all the mocap animations.
Download the Mixamo standard armature
Download the Mixamo armature renamer add on if you don’t have it
You can parent meshes to bones from a Mixamo standard armature to add accessories or create a character entirely made of objects, to be animated with mocap data.
What if your clothes are on a separate mesh and/or they are ignored by Blender’s parent with automatic weights? You can transfer (copy) the weights from a mesh to another according to the vertex proximity so they can follow the same armature.